
1229 N Gilbert Rd #3 Mesa, AZ 85203-4501
1229 N Gilbert Rd #3 Mesa, AZ 85203-4501
We're here to help! (480) 833-7700
WE'RE HERE TO HELP!
(480) 833-7700
1229 N Gilbert Rd #3 Mesa, AZ 85203-4501
1229 N Gilbert Rd #3 Mesa, AZ 85203-4501


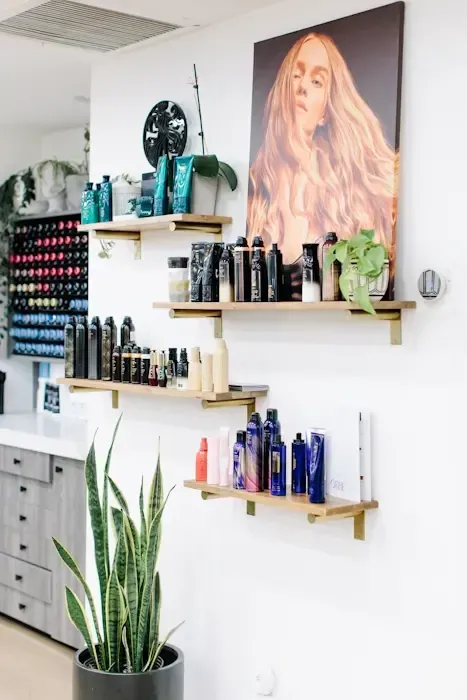
Your destination for
personal Rejuvenation
Boost Your Confidence and Rejuvenate Your Hair!
New Blowout Memberships Available

We are a salon today 200
2026 Honoree
Salon business success
We are a salon today 200
2026 Honoree
Salon business success
We are a salon today 200
2026 Honoree
Salon business success
LOVE YOUR HAIR | LOVE YOUR STYLIST
LOVE YOUR HAIR
LOVE YOUR STYLIST
Let us match you with your salon soulmate!
Take our quiz to instantly be paired with the stylists on our team who will understand your hair goals and challenges, as well as fit your unique style and personality!

Two Ways Artists Can Join Tantrum


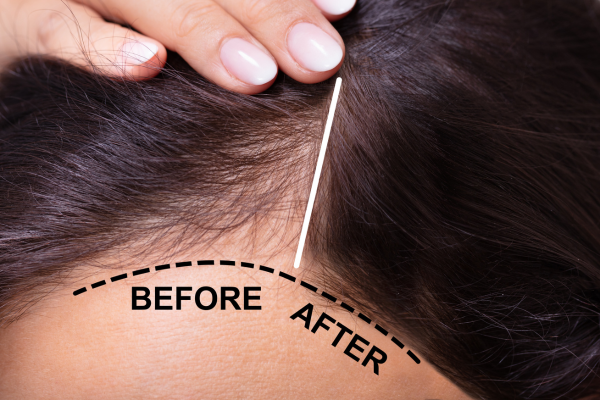

THE PAINLESS WAY TO RESTORE THICKER, HEALTHIER HAIR
Discover Alma TED Hair Restoration
THE PAINLESS WAY TO RESTORE THICKER, HEALTHIER HAIR
Discover Alma TED Hair Restoration
We're Looking for THE ONE!
Join our Team to Qualify for $1,000 Signing Bonus!


Follow for More Info
We are as passionate about your inner wellbeing as your external appearance.
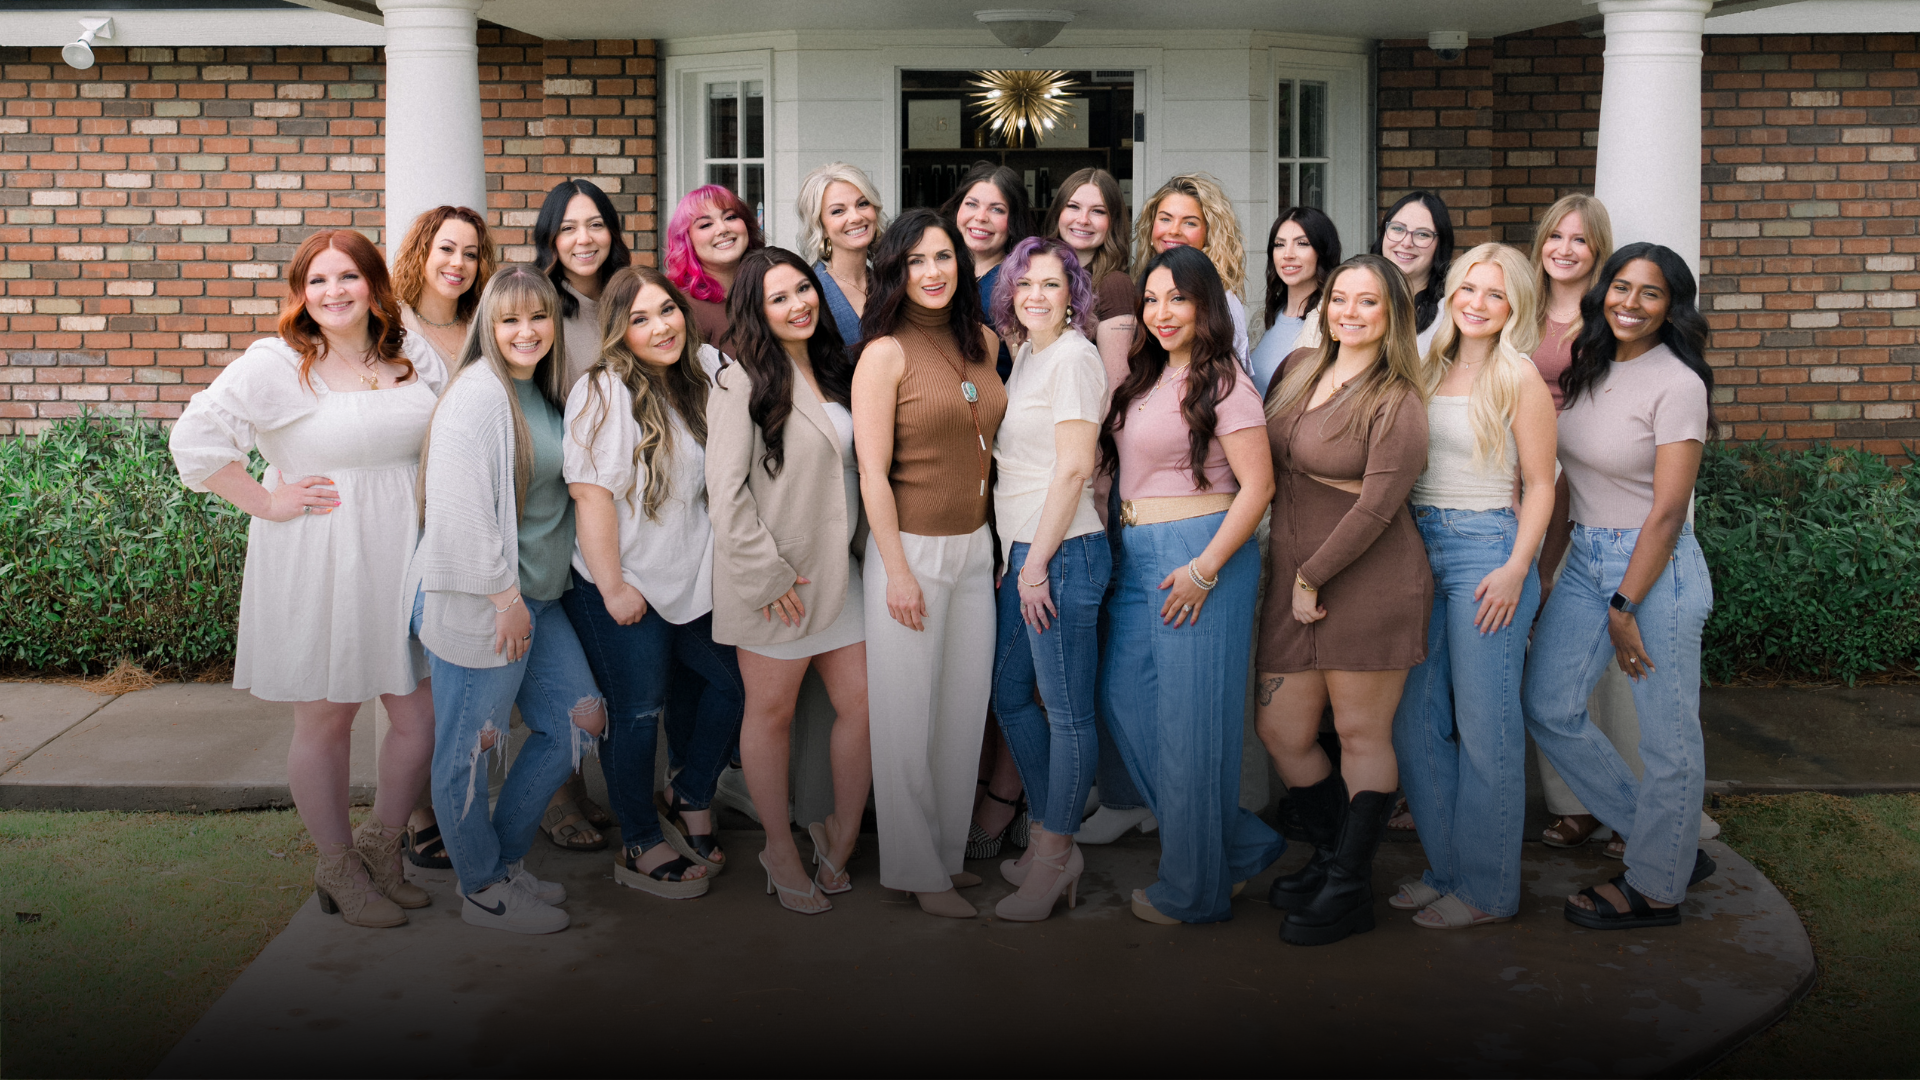
Follow for More Info
We are as passionate about your inner wellbeing as your external appearance.
Step into the spotlight, because you deserve it.
Big news. Pretty things. All month. 🚸
May is self-care season! Scalp detox, fresh hair, Botox & fillers back at Tantrum. ...more
Hair Care Tips & Trends ,Hair Care & Beauty
April 30, 2026•1 min read

Loved by Our Clients
Share your experience with us on Google!


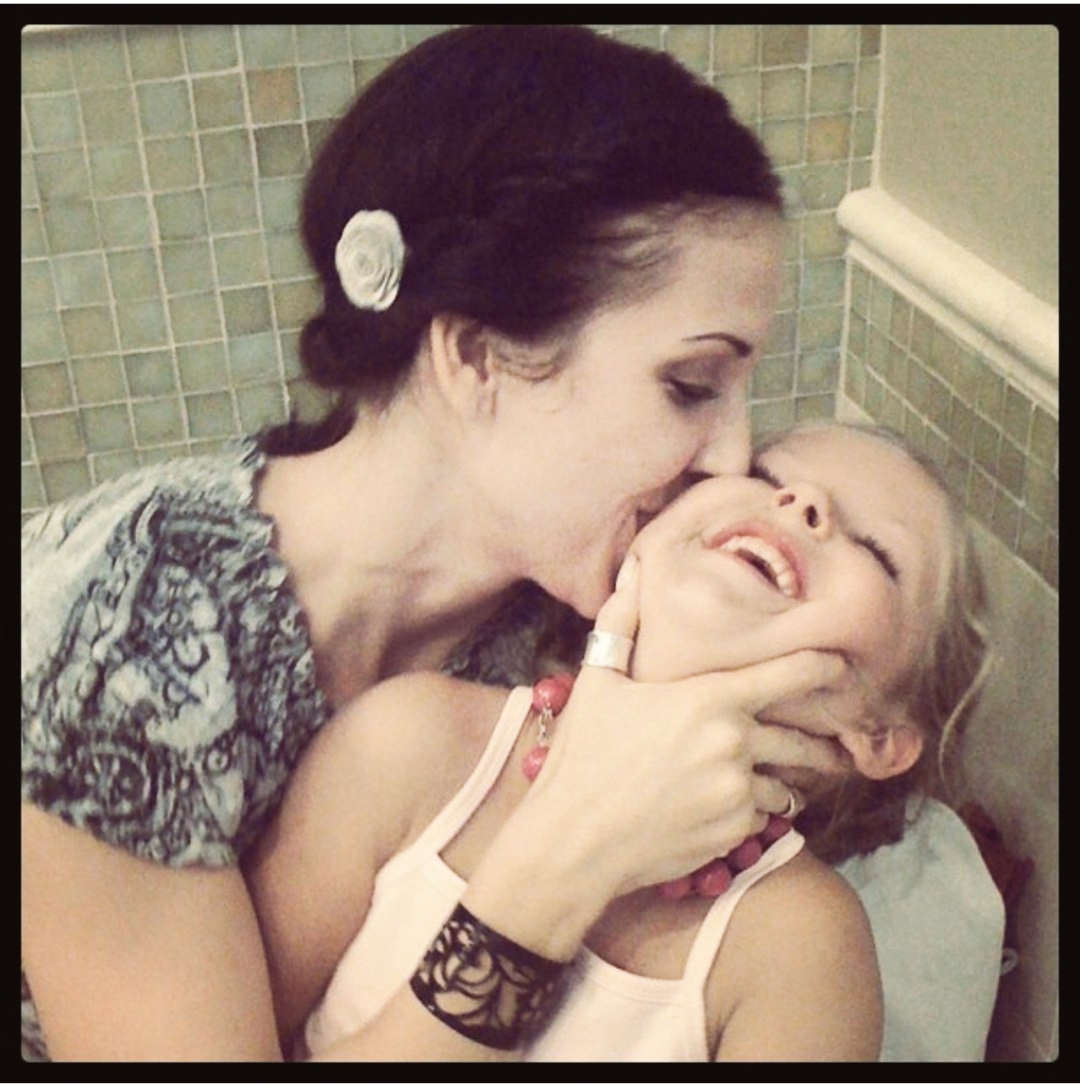
We support Beyond the Hurt which helps domestic violence survivors.
Tantrum Salon provides free hair treatments, services, and facials every month.
Learn more about Beyond the Hurt
We support Beyond the Hurt which helps domestic violence survivors.
Tantrum Salon provides free hair treatments, services, and facials every month.
Learn more about Beyond the Hurt
Tantrum Hair Salon – 1229 N. Gilbert Road, Mesa, Arizona 85203
© 2021-2026 Tantrum Hair Salon. Tantrum’s Policies | All Rights Reserved. Privacy Policy | Join Our Artists
Website Management: Spark Pro Global